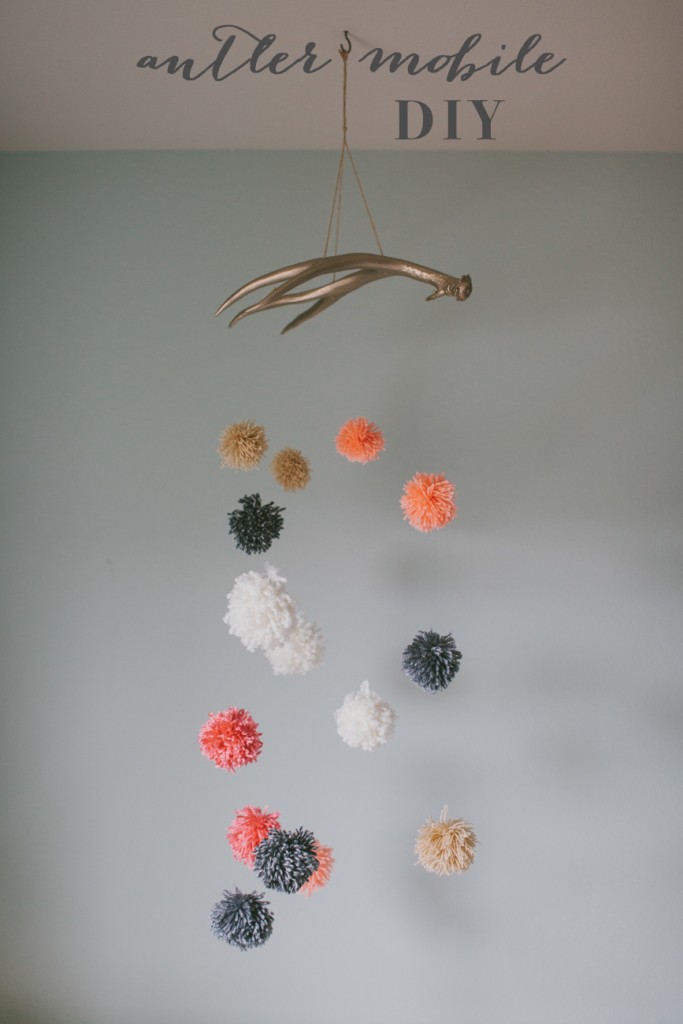
I was pleasantly surprised to learn a picture of Waverley’s antler mobile is the most popular pin on my Pinterest. There are no DIY directions attached so I am finally sharing the details of how we put her antler + yarn pom mobile together! We made the same antler mobile last spring when our sweet baby godson was born and I have been patiently waiting to take the final picture of it up in his room. Unfortunately their renovation isn’t complete yet and I am running out of patience, so I am just sharing it now with Waverley’s mobile as an example. I hope you don’t mind!

Antler decor is definitely an obvious choice when living in Alaska, so I tried to tone down the ruggedness of Waverley’s antler mobile with a little gold glam. Nate found this antler several years ago and has been holding onto it ever since for something special. I think it was beyond fitting to use it in Waverley’s room! It was fun for us to create the mobile together, starting with choosing yarn colors (Me: “Is this too pink? Too orange? I am going for coral.” Him: “It looks nice.”) and assembling it together. I painted Waverley’s antler gold for extra feminine glam, but for our baby godson we left it natural to give a more masculine vibe. My sister-in-law is planning to decorate his room with grays, navy, ivory, and pops of burnt orange so I chose yarn colors accordingly.
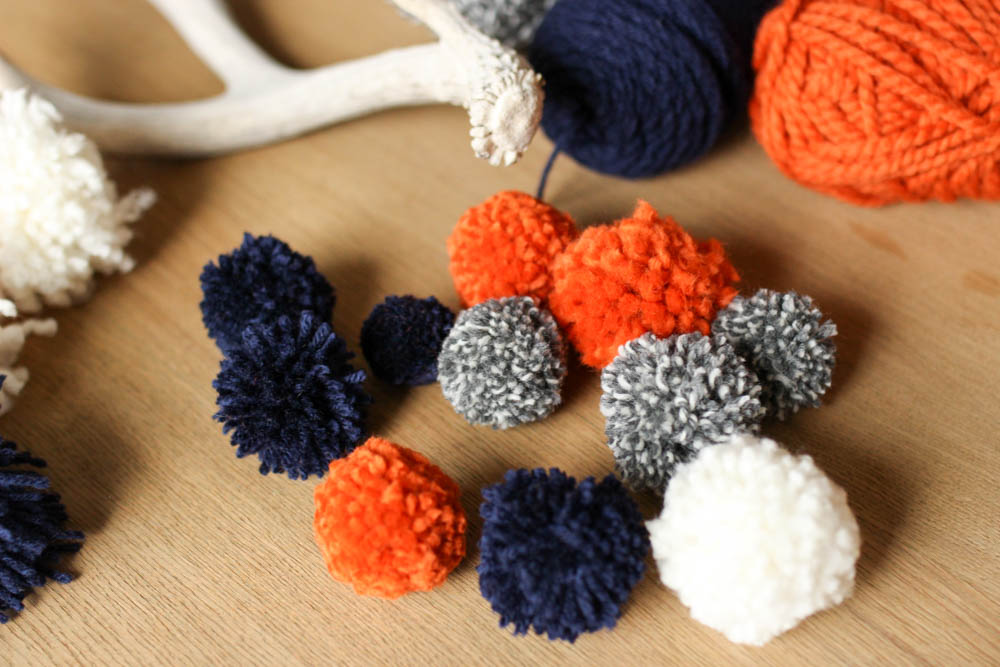
Materials
1 antler
3-4 colors of yarn (I purchased one bunch of each color and had plenty leftover)
Tippet line
Paint (if using) and brush
Nymph head beads
Drill and bit
Twine
1 brass ceiling hook
Directions
1. If painting the antler, paint two coats completely covering the antler and let the paint dry in between each coat.
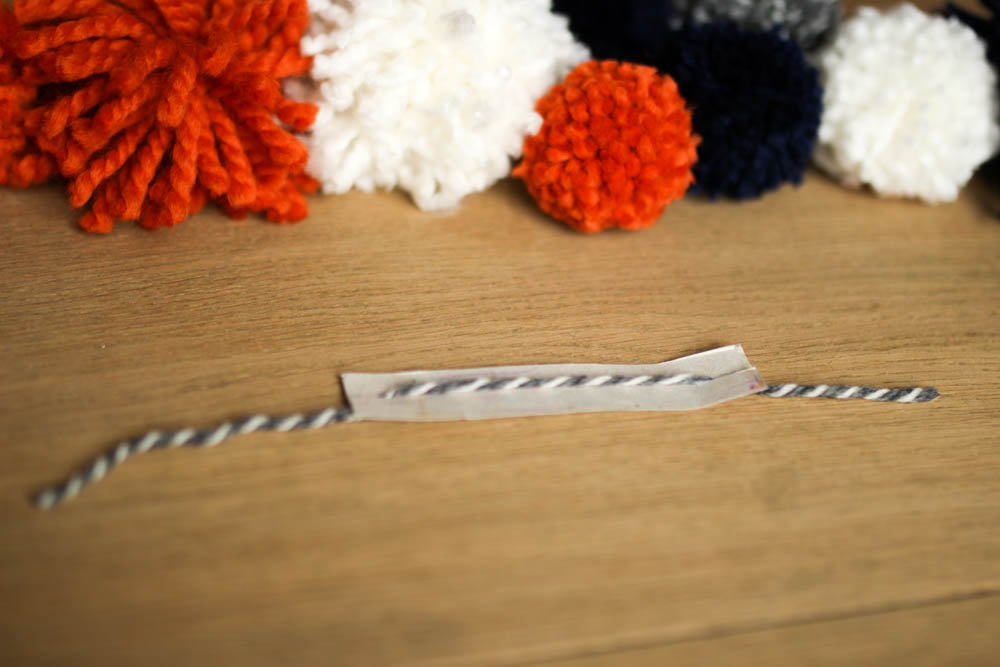
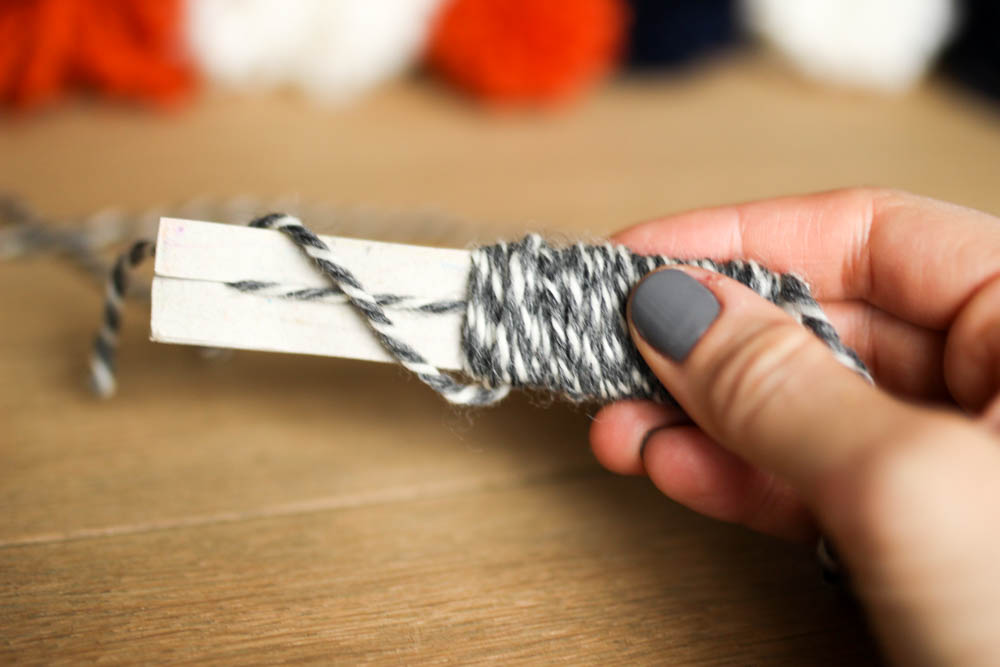
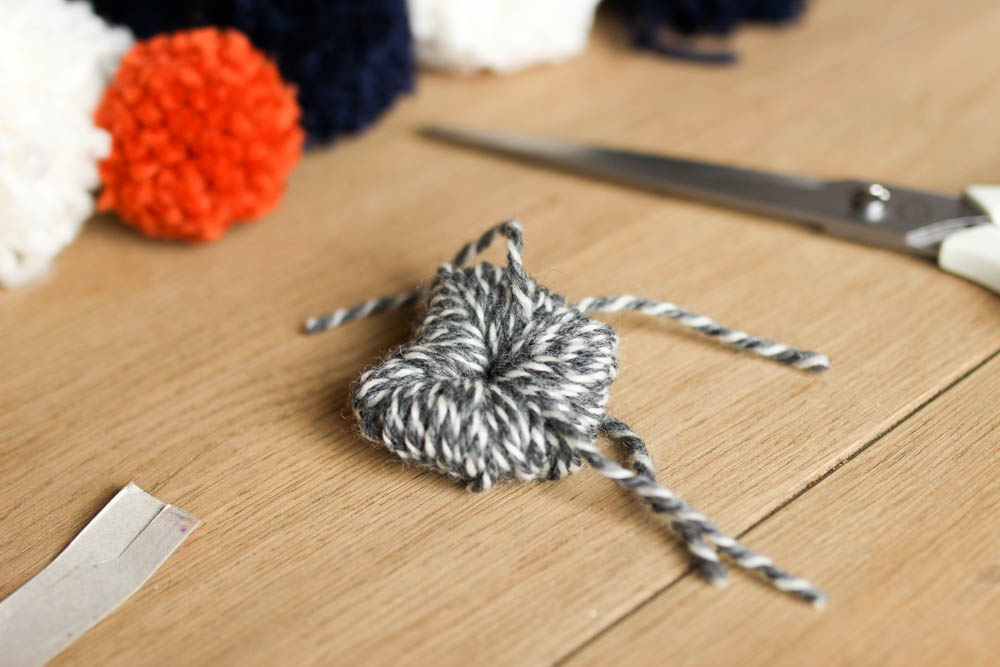
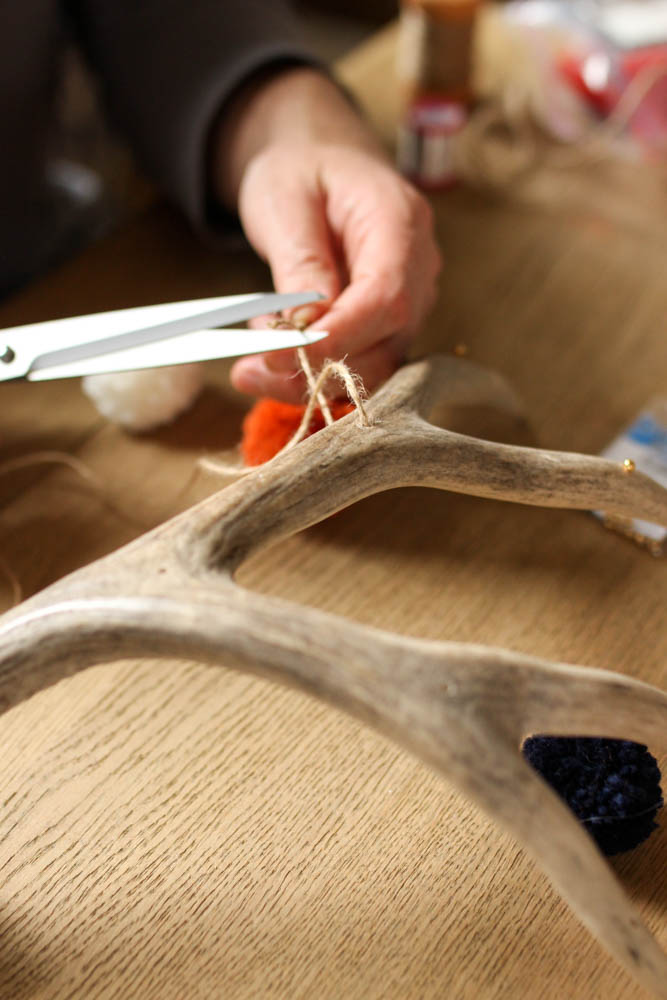
2. Create the yarn poms with your chosen colors. I followed this tutorial to make them. You’ll need approximately 15-18 poms of varying colors.
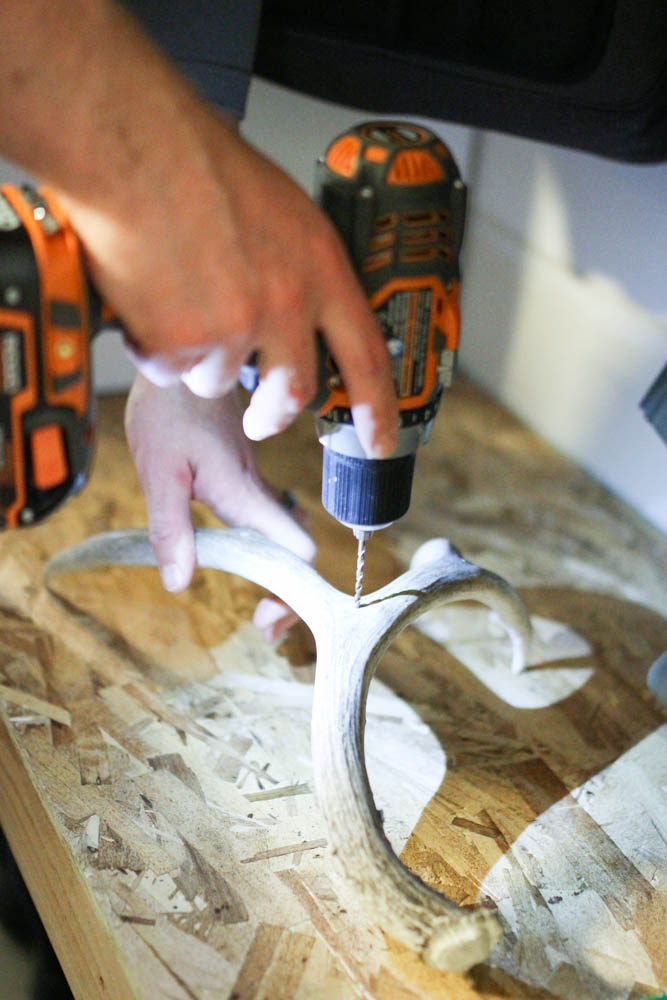
3. To make the holes for the tippet line that will eventually hold the yarn poms, drill 4-5 holes (depending on size of antler) using a 3/32″ size bit. Drill these holes approximately 2″ from the edge of each horn with one in the center. Then, using a 3/16″ bit make a shallow inset at the top of each hole (which will be used to allow the bead to rest in).
4. Then, using a 1/8″ size bit, drill 3 holes around the center to form a triangle, measuring approximately 3″ apart. Use a 1/4″ bit to make an inset approximately 1/3 way through. These holes will be for hanging the mobile.
5. Cut the tippet line into approximately 3′ threads. I made 5, but you’ll need as many as the holes you drilled. Thread the line through the hole leaving most of the length below.
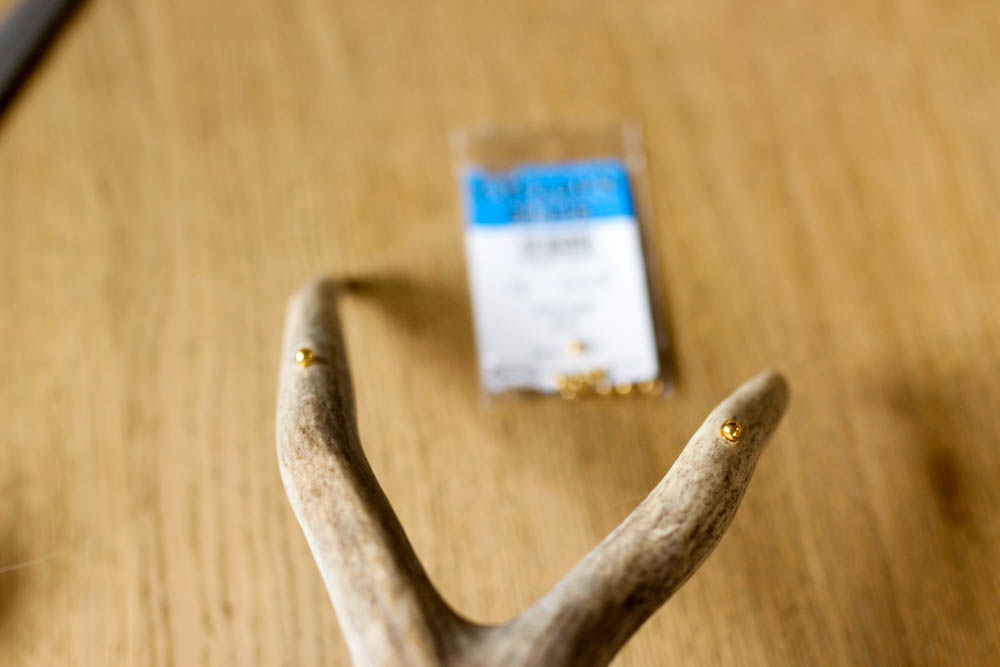
6. Above the antler (i.e., the side that will face the ceiling), tie the line into the beads so the line does not fall through the hole.
7. Thread twine through the three center holes. Below the antler (i.e., the side that will face the floor), tie off the twine to make a knot larger than the hole. Gather the twine together approximately 6″ above. This will provide a supportive mechanism to hang the antler in order to hang it evenly.
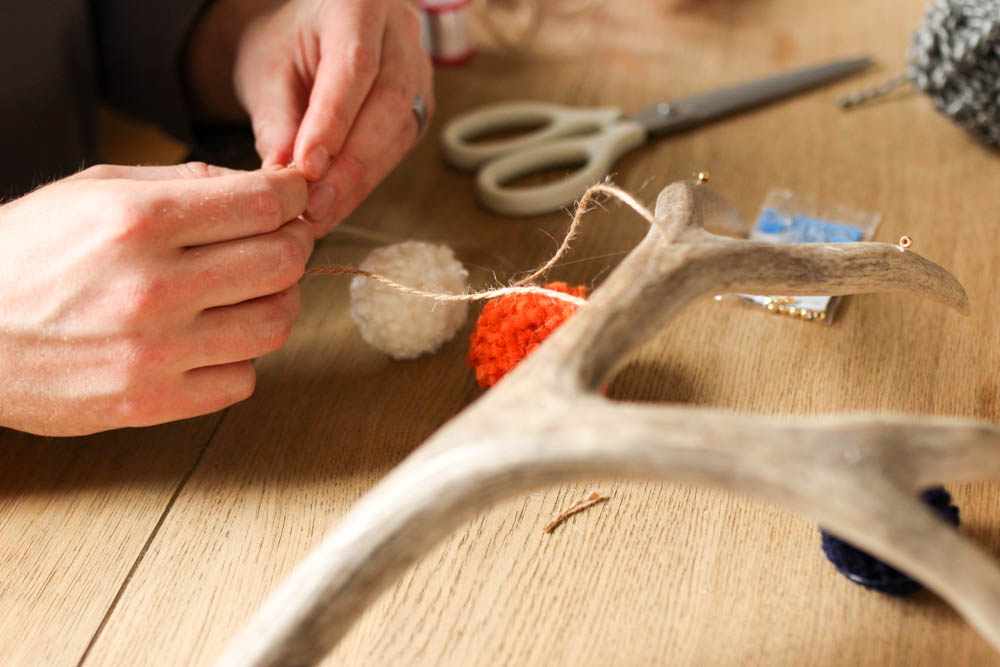
8. With the hanging tippet line, tie on the yarn poms. I tied 3-4 on each line with spacing of 4-6 inches. Alternate the yarn pom colors and spacing. (Ensure the line with yarn poms does not hang too low into the crib. As Waverley developed we had to cut a few poms off because she would try to pull the mobile down.)
9. Screw a ceiling hook into the ceiling. Then hang the mobile using the twine.



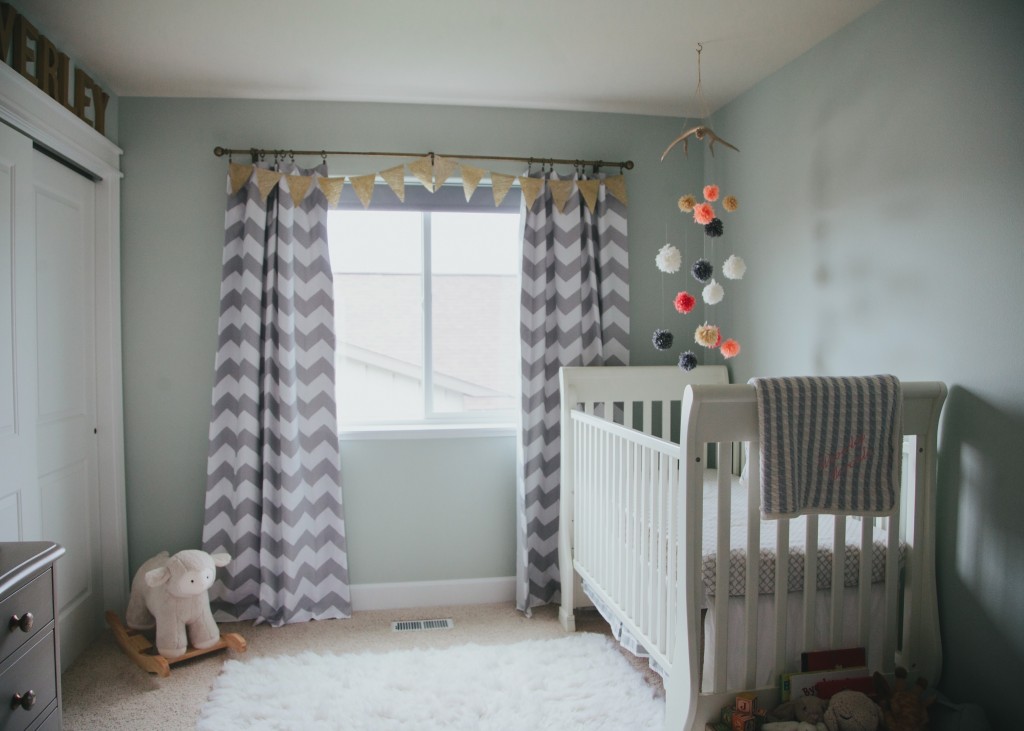
Can you believe how teeny tiny Waverley looks in these pictures? Agh it is making my heart ache. Check out her room reveal for more pictures and all of the details of her nursery!
